If you’re diving into a reverse coloring book – where the color comes first and you add the line work – you’ll want the right tools to bring out your best creative work. Over time, I’ve tested many supplies on reverse coloring book pages (yes, I’ve tried them on several books), and I’m excited to share what I’ve found works best for this unique format: fine liners, colored pencils, white gel pens, plus a few must-have accessories.
Let’s take a look at what you should consider for your kit.
Fine Liners: For Clean, Sharp Line Work
When you’re adding lines to pre-painted pages, you want pens that are reliable, archival, and won’t shift the color underneath or bleed through. Here are two great choices:

Sakura Pigma Micron Fineliner Pens
These are my go-to and a favorite among illustrators and journal artists for a reason. Reviewers praise their “waterproof and archival ink” that resists smudging when used with watercolor or mixed media – though technically you’ll be working with printed pages. The precise tip sizes (from .03 mm to .45 mm) make them ideal for drawing fine details on colored backgrounds. For a reverse coloring page, they offer crisp control for outlines, fine decorative lines, or even micro-patterns.

Staedtler Pigment Liner Fineliner Pen
A reliable and affordable choice for fine-line work, the Staedtler Pigment Liner offers pigmented, waterproof ink and a durable tip. It provides great value without compromising performance, especially if you’re testing tools or working within a budget.
What to watch: On very glossy pages, even a fine liner may sit on top rather than absorb, so test on a corner of the page first.
Colored Pencils: Soft, Blended Color Addition
While pens give you lines, colored pencils let you decorate or accent the existing color fields. They’re perfect for layering, shading, or adding subtle textures – especially when the reverse coloring book page uses a matte or lightly coated paper.

Prismacolor Premier Soft Core Colored Pencils
These pencils are widely regarded as premium for blending and layering, and they remain my top preference. Their soft, velvety texture makes for smooth mixing and glazing. In testing them on reverse coloring pages, they glide nicely over paper and allow you to deepen tones or add subtle line-free accents.

Derwent Coloursoft Colored Pencils
If you like Prismacolor’s softness but want a bit more control and less breakage, Derwent Coloursoft pencils might be a strong match. While I haven’t personally tested Derwent Coloursoft yet, artists who enjoy Prismacolor’s soft texture often recommend them as a close alternative. They’re wax-based, richly pigmented, and blend smoothly without the fragility that sometimes comes with ultra-soft cores. Based on reviews and demonstrations, they appear to be a reliable option worth exploring.
A small tip: If the reverse coloring book pages have a heavy glossy coating, colored pencils may struggle to adhere well. For best results, use them on pages with less gloss, or apply a very light fixative (if you’re comfortable spraying a fixative inside a coloring book). Also, hold them lightly – the buttery core can break if you press too hard.
White Gel Pens: Highlights, Accents & Drama
Since many reverse coloring pages feature bold washes with darker zones, a white gel pen becomes your secret weapon for high-contrast accents: tiny stars, leaf veins, texture lines, or highlights on eyes. Two standout pens for this are:

Sakura Gelly Roll Classic White Gel Pen
This pen delivers opaque white ink in a gel format. It’s fine-tipped and opaque enough to make strong highlights on dark paper. Sakura was the first to introduce this type of pen in the early 1980s, and they’ve pretty much perfected it. These pens layer beautifully on the types of paper commonly used in reverse coloring books.

Uni‑Ball Signo White Gel Pen
Frequently lauded in reviews as “bold, smooth, and clearly visible on dark surfaces,” the Uni-Ball Signo holds its own against Sakura’s offering. If I were picking one white gel pen for durability and reliability, this would be it. On some reverse coloring pages I’ve used, it produced cleaner, crisper white lines than most budget alternatives.
Note: When reworking white lines, things can sometimes get a little messy. I recommend waiting until later in your process to do a planned highlight session with your white gel pens. Try to avoid layering over previous white line work.
Accessories That Make a Difference
Even with the main supplies sorted, a few extra tools can elevate your reverse coloring experience:
- An Electric Sharpener – A high-quality sharpener makes all the difference when using soft-core colored pencils. You want smooth sharpening that avoids breakage, and an electric sharpener will save your wrists. I have an old, no-longer-available, Bostitch that I picked up at a yard sale and it’s still going strong, so I can attest to that brand’s durability. Artist friends vouch for Blackwing and Staedtler models as well – though some can be pricey.
View some options on Amazon ↗ - A Gum Eraser – Soft, gentle, and effective on colored-paper surfaces. It’s useful when you lightly sketch first or want to clean up stray graphite.
View some options on Amazon ↗ - A Blending Stump or Colorless Blender Pencil – Handy for blending and smoothing pencil layers. Depending on the pressure you apply, results may vary, so test first to see how it interacts with your paper.
View some options on Amazon ↗
Paper & Coating Considerations
Here are a few things I’ve learned from testing:
- Less glossy paper = better pencil performance. Pages with heavy gloss or slick coating can make colored-pencil layering and gel-pen white ink a little tricky.
- Archival pens matter for longevity. If you’re treating your reverse coloring book pages as keepsakes, fineliners like the Microns are a wise choice because their ink is fade-resistant and waterproof.
- Markers and bleed-through caution. While you may love the idea of markers for bold color, some reverse coloring books use thinner paper stock. I’ve seen bleed-through or shadowing when I lingered too long with markers like Copics. Unless the page is especially thick (200 gsm or more), it’s best to use markers sparingly or avoid them. Test a small area first, and if there’s bleeding, place a scrap sheet behind the page you’re working on.
Final Thoughts & My Personal Testing Take
After using a range of pens, colored pencils, gel pens, and accessories across various reverse coloring books, here’s what I’ve settled on:
- Start with a quality fine-liner for your key outlines and detailed touches.
- Use colored pencils to accent, layer, and refine your color fields, especially if the paper texture allows it.
- Use a white gel pen for dramatic highlights or to bring forward white details that might otherwise vanish on colorful backgrounds.
- Keep your accessories handy so you spend less time fumbling and more time creating.
And remember: part of the joy of reverse coloring is exploration. There’s no “wrong” tool, just tools that work better for your style and the specific page stock.
Happy creating! Enjoy watching the color first, then drawing the lines that make it your own.
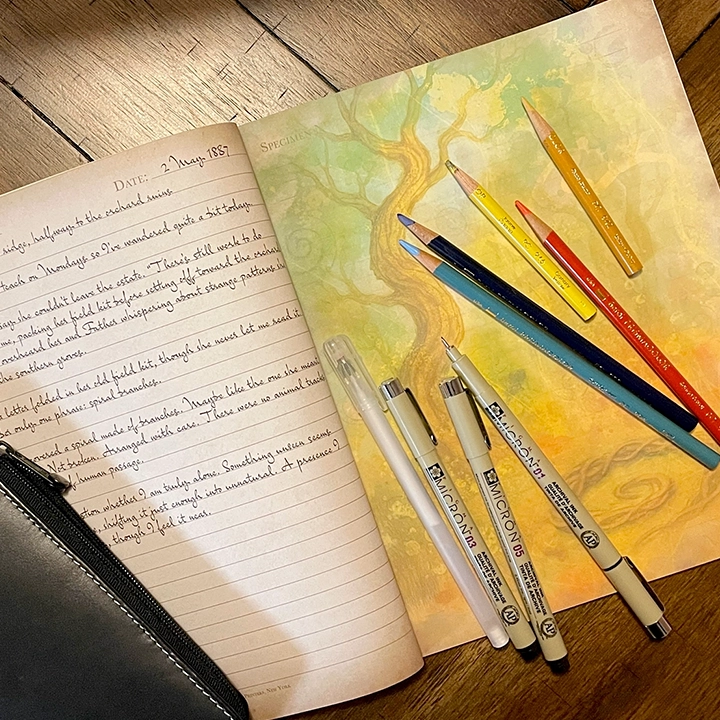
Ready to put your tools to use?
Discover how color and mystery intertwine in Echoes Inked: The Forgotten Field Journal, a reverse coloring book that invites you to uncover haunted shapes and forgotten stories.